Learning Piano
A Guide to Piano Tuning for Beginners
A Guide to Piano Tuning for Beginners
Tuning a piano is a nuanced process that demands a keen ear, meticulous attention, and patience, especially considering a piano harbors over 200 strings. This task, traditionally costing around $100 per session, can accumulate in expenses, hence the allure of self-tuning. Before embarking on this journey, understand that it involves adjusting numerous strings and necessitates specialized tools and a profound understanding of musical theory.
Acquiring the Necessary Tools 
- Finding Tuning Equipment: Specialty online stores or physical piano shops are your go-to for acquiring tuning tools, as they’re rarely found in standard music stores. Ensure quality by researching tool manufacturers and reading product reviews meticulously.
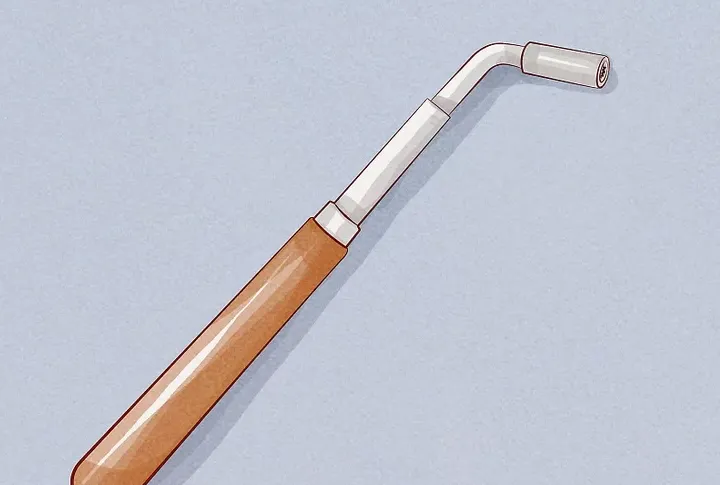
- Selecting a Tuning Lever: Essential for tuning, a high-quality lever, also known as a hammer, wrench, or key, is worth investing in. Opt for professional-grade models labeled “apprentice,” “student,” or “craftsman,” with prices around $50 indicating a reliable tool.
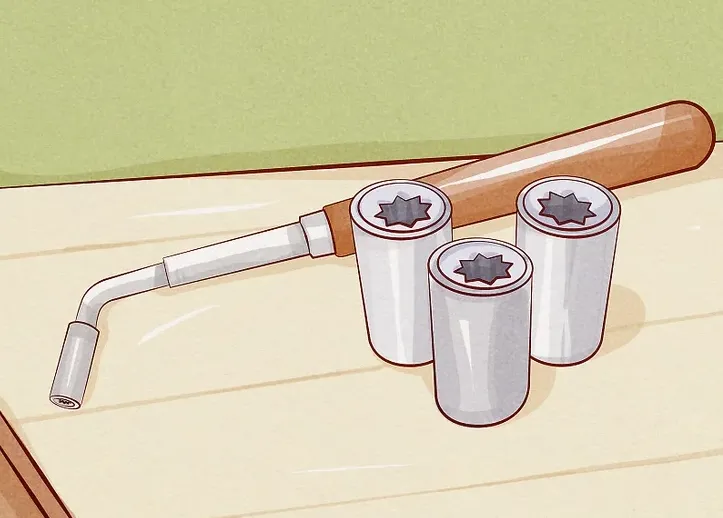
- Choosing Lever Tip Size: Tuning levers come with various tip sizes; a #2 tip is a versatile choice for most pianos. Smaller or larger tips might be necessary for specific models or for replacing damaged pins.
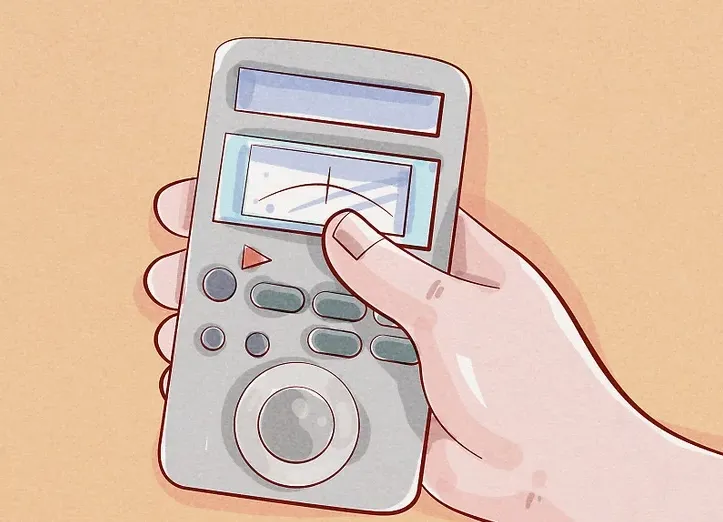
- Obtaining an Electronic Tuner: A piano-specific chromatic tuner is crucial for accurate tuning, with reliable models ranging between $500 and $1,000. This device provides reference tones to ensure precise tuning.

- Considering Tuning Software: For those with a tighter budget, piano tuning software offers a cost-effective alternative with potentially greater control over the tuning process. Prices hover around $300, often with free trials available.
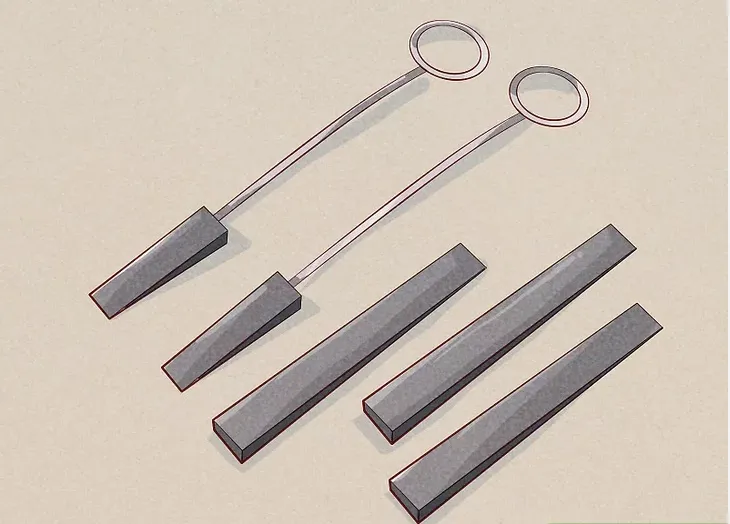
- Gathering Mutes: A variety of mutes, at least 6 or 7 different types, are necessary for isolating strings during tuning. These are inexpensive but vital for working across the piano’s range.
The Tuning Process 
- Preparatory Steps: Begin by removing external piano panels to access the strings, using appropriate tools like screwdrivers. Familiarize yourself with the interior layout, including the placement of strings and pins.
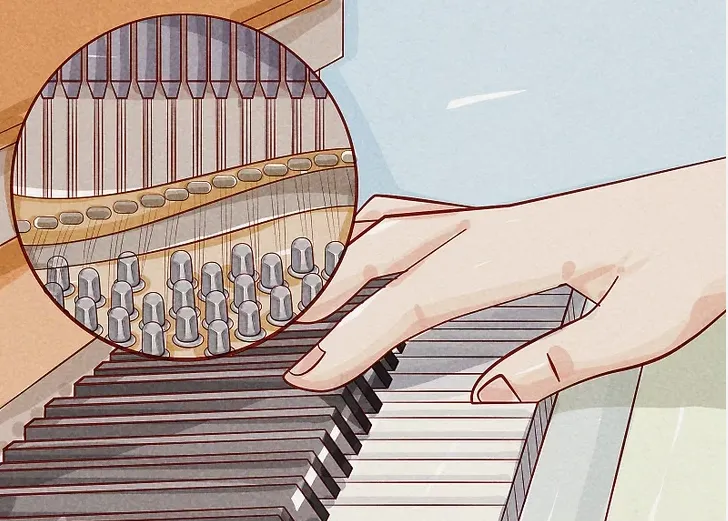
- Understanding String and Pin Layout: Before tuning, play the piano with the panels off to understand the relationship between strings and keys, crucial for avoiding tuning errors.
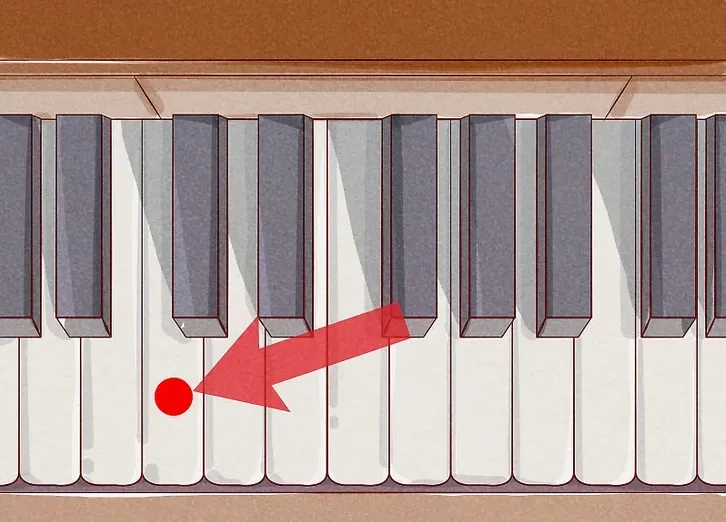
- Starting Point: The standard tuning reference is A440, where A4 vibrates at 440Hz. Begin tuning with a middle octave note, muting adjacent strings to focus on one string at a time, then tune the remaining strings (unisons) by ear.
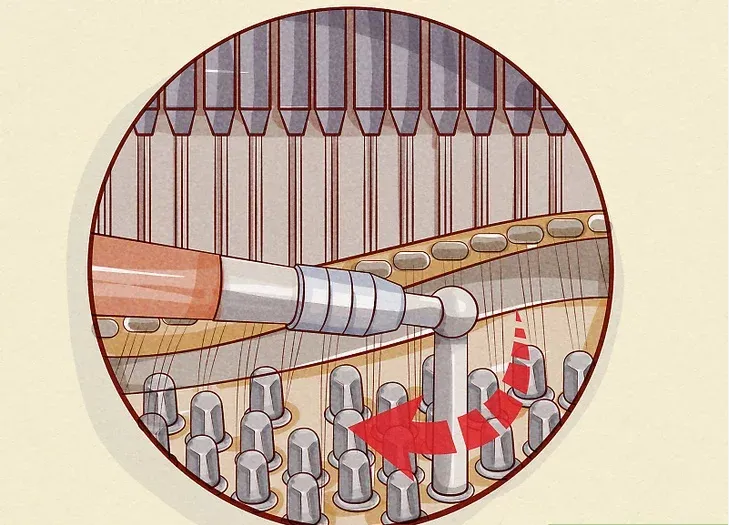
- Adjusting the Pins: Use the tuning lever to make incremental adjustments to the pins, turning clockwise to raise pitch and counterclockwise to lower it. Aim for minimal movement to avoid breaking strings or loosening pins.
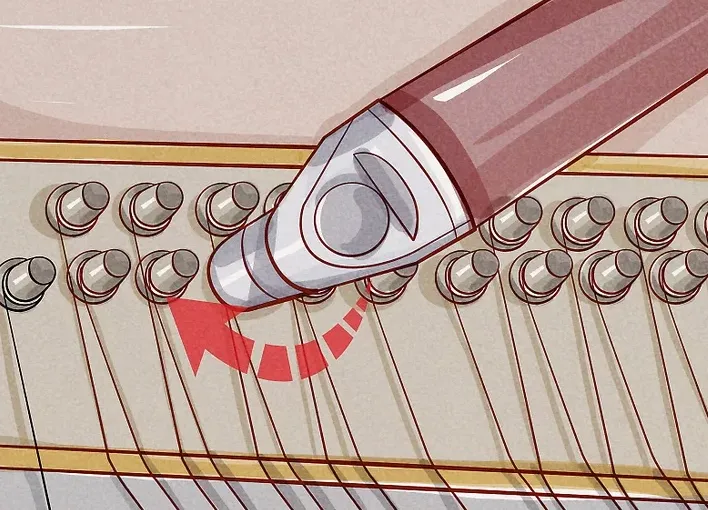
- Setting the Pin: After achieving the correct pitch, secure the pin by slightly tightening and then loosening it to maintain the pitch, a technique requiring practice to master.
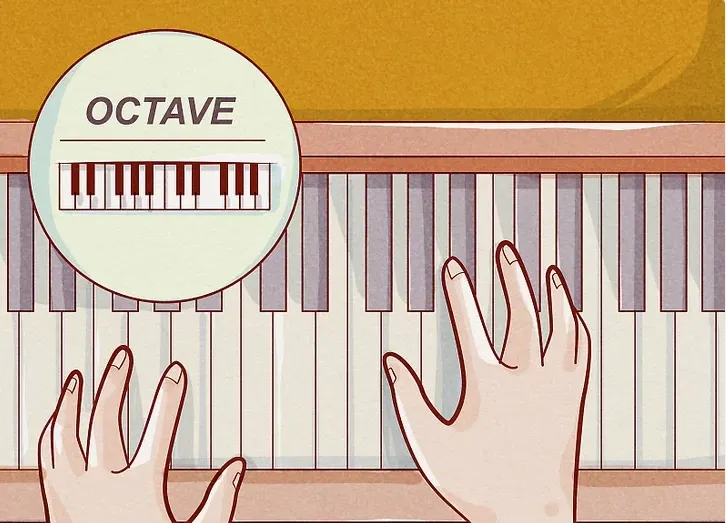
- Progressing Through Octaves: Using the first tuned note as a reference, tune the piano in octaves and fifths, relying increasingly on ear tuning rather than the chromatic tuner or software.

- Interval Checks: Regularly check major third intervals to ensure harmonious tuning. Rely on your ear for the most accurate results, as mechanical tuners can lead to sharpness when circling back to the starting note.
- Final Play-Through: Before reassembling the piano, play it to confirm tuning accuracy. Be prepared to make adjustments, as perfect tuning might require several attempts, especially for beginners.
Conclusion
Tuning a piano yourself is a challenging but rewarding endeavor that can save money in the long run. With the right tools, a solid understanding of musical theory, and patience, you can maintain your piano’s beautiful sound. Remember, practice and patience are key to mastering the art of piano tuning.
