
Learning Piano
“Transforming Your Piano with Paint: A DIY Guide”
26
Th2
Th2
Transforming Your Piano with Paint: A DIY Guide
Refreshing your home decor can be as simple and cost-effective as giving your piano a new coat of paint. With some patience, basic painting tools, and a bit of creativity, you can turn your piano into a vibrant centerpiece that enhances your space for many years to come.
Preparation: Cleaning and Priming 
- Thorough Cleaning: Start by meticulously cleaning your piano with soapy water. A thorough clean ensures that your paint adheres properly and doesn’t seal in dirt.
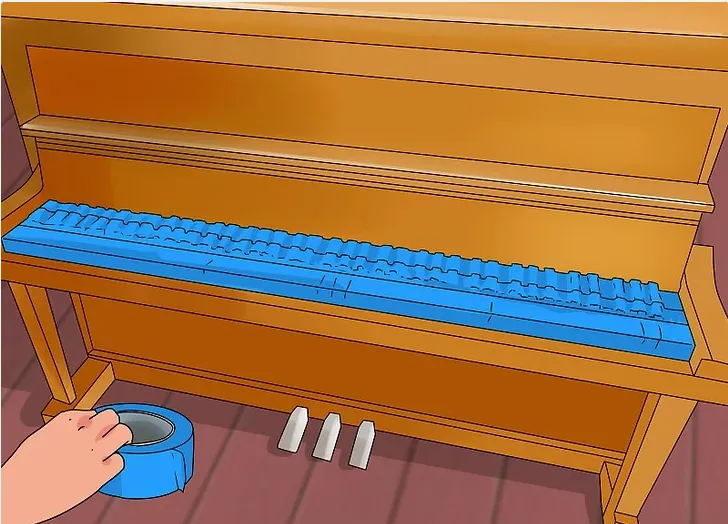
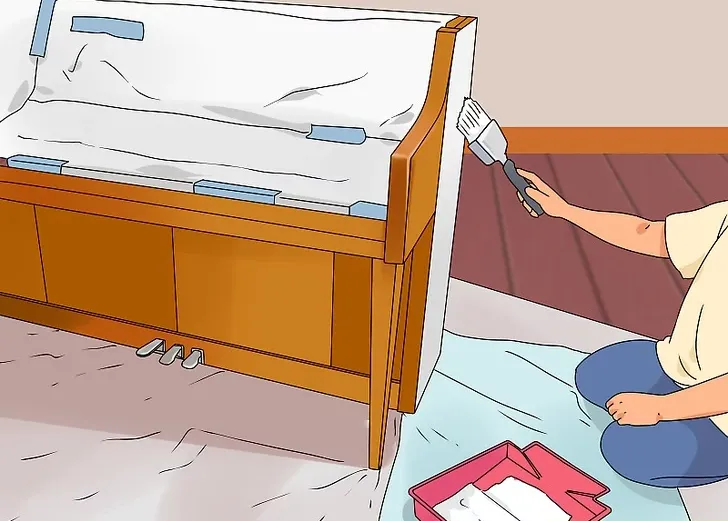
- Key Protection: Use painter’s tape to cover the piano keys completely, protecting them from paint splatters. Consider covering the piano pedals with plastic if they can’t be removed.
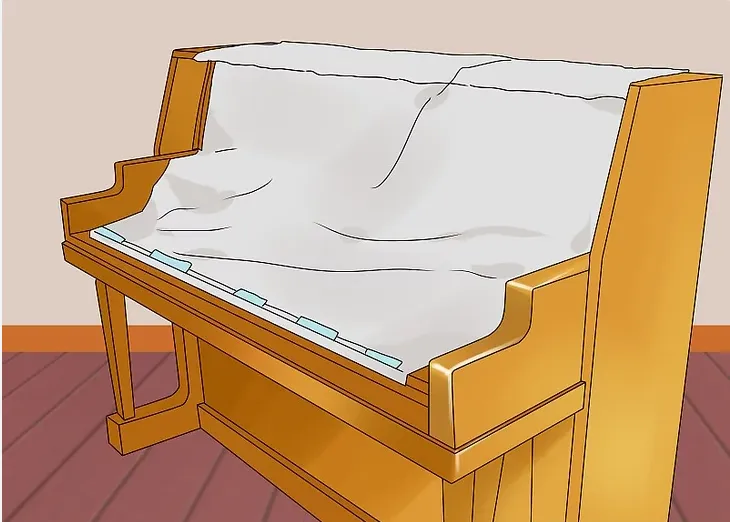
- Safeguarding the Interior: Protect the inner mechanics of the piano by placing a drop cloth inside the open piano, securing it with painter’s tape.
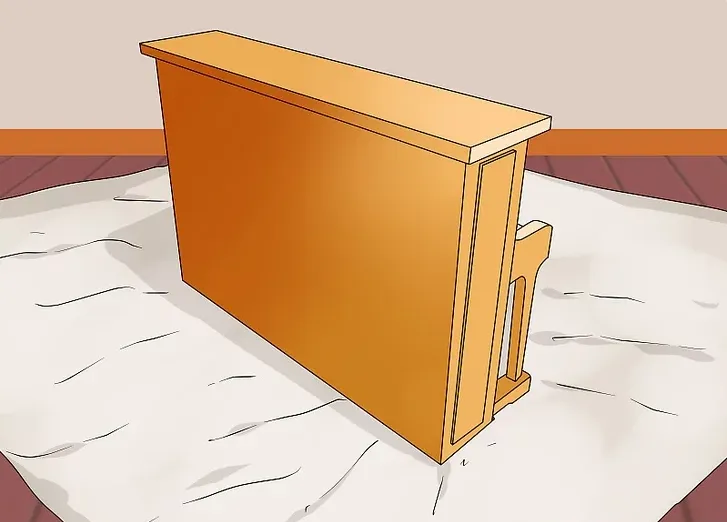
- Floor and Wall Protection: Lay drop cloths on the floor around the piano and tape tarps to nearby walls for indoor projects. Alternatively, move the piano to a garage or outdoor area under cover.
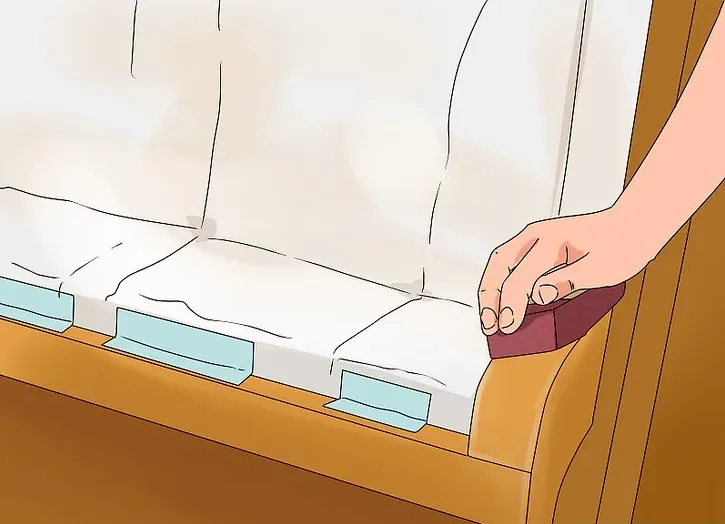
- Sanding for Adhesion: If your piano has a high gloss finish, lightly sand it with fine grit sandpaper to ensure the new paint sticks. Wipe away sanding dust afterward.
- Priming: Apply a layer of primer to create a smooth base for your paint. Consult with a hardware store to see if your paint choice requires a primer.
Painting Your Piano 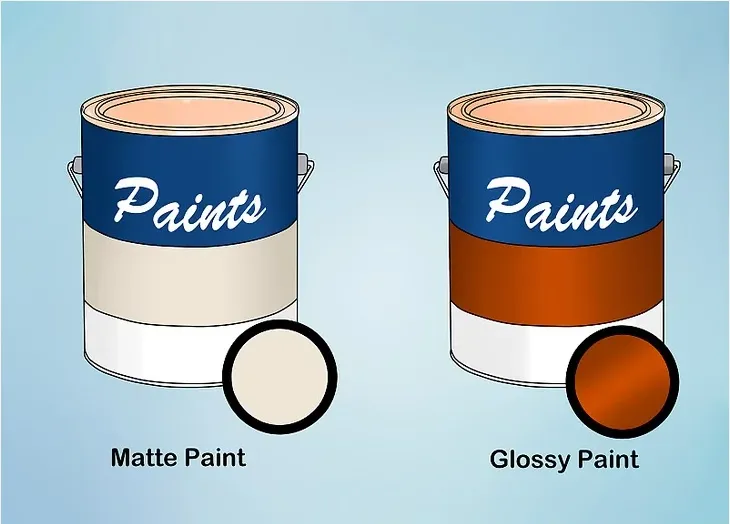
- Selecting Paint: Choose your paint based on the desired finish – matte, eggshell for subtlety, gloss for shine, or semi-gloss for a balanced sheen. Matte paint is forgiving for imperfections, while glossy finishes highlight details. For a creative twist, consider chalkboard paint.
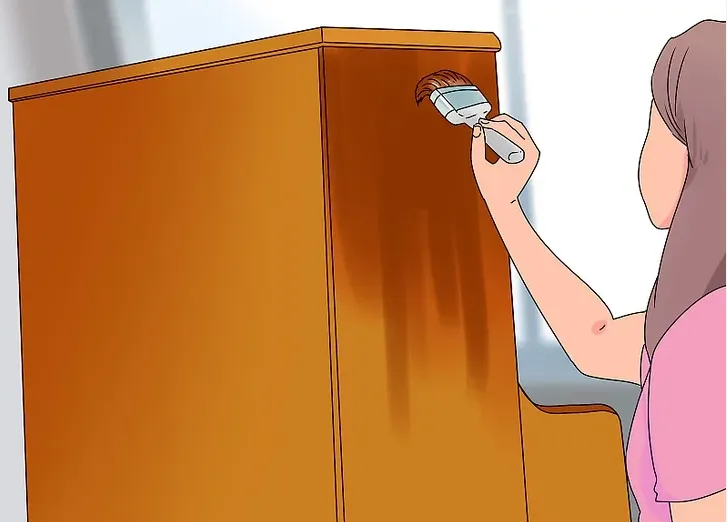
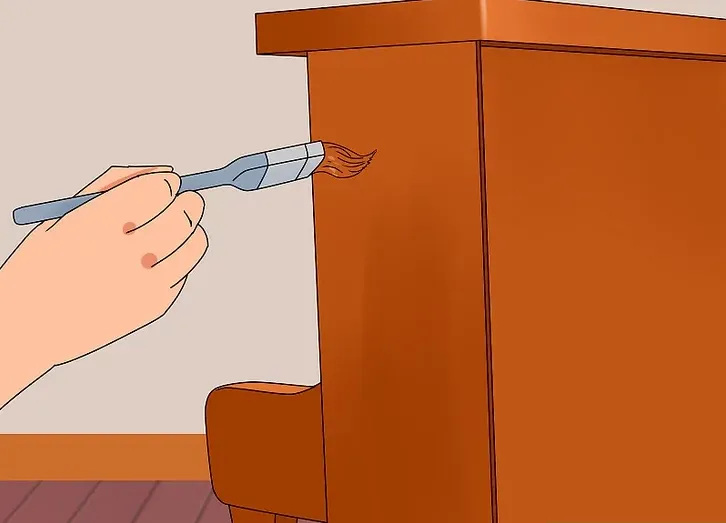
- Even Brushstrokes: Apply paint with a wide brush, tackling the piano in sections if you have help. For hard-to-reach areas, use a smaller brush. Consider a paint sprayer for a uniform finish without brush marks.
- Layering Paint: Apply at least two coats, or more until you achieve the desired coverage and color depth. Adjust the color if necessary by consulting with your paint supplier.
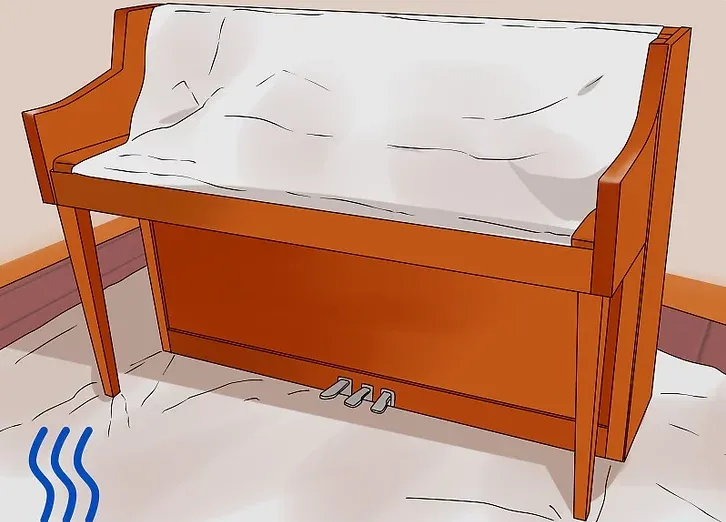
- Drying Time: Allow the paint to dry thoroughly, ideally overnight, and protect the piano from the elements if it’s outside.
Finishing Touches: Waxing and Final Drying 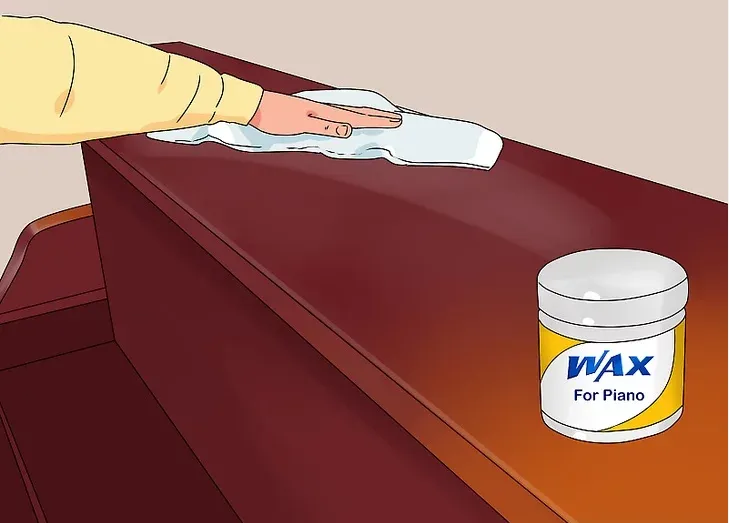
- Wax Application: Use a wax brush or a lint-free rag to apply wax in firm, circular motions. Choose a wax shade that complements your paint color if you wish to adjust the tone.
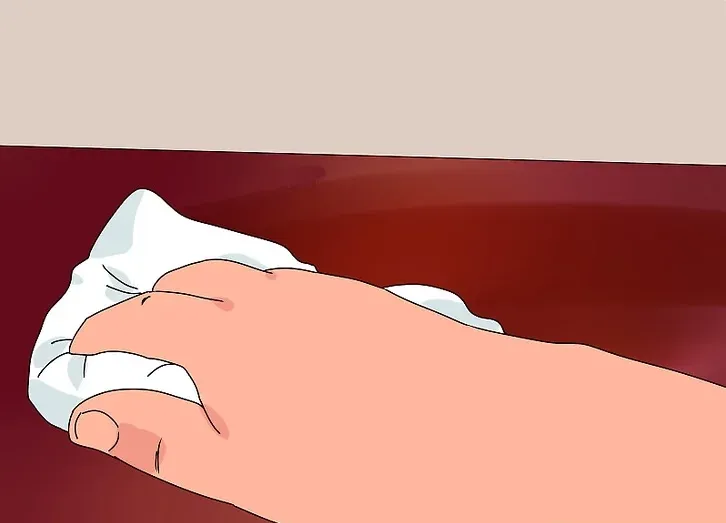
- Removing Excess Wax: Quickly wipe away any surplus wax with a lint-free rag to prevent clumping.
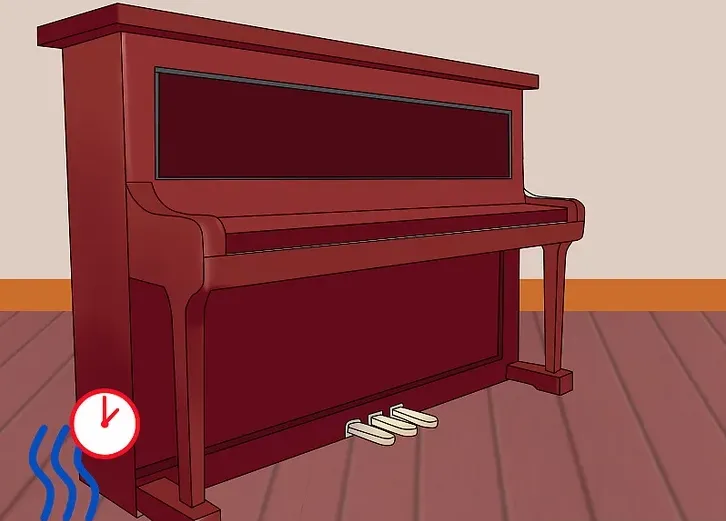
- Drying: Let the waxed piano dry completely, then clean your brushes and tidy up your workspace.
- Reveal: Remove all protective coverings from your piano. It’s now time to enjoy and showcase your newly painted piano, a testament to your DIY skills and creative vision.
This guide empowers you to breathe new life into an old piano, transforming it into a bespoke piece of art that’s both functional and stylish.